How to Make a Template for Pin-wheels with Adobe Illustrator
This is an explanation of how to make the templates on page 97 of our book, Cabaret Mechanical Movement. Although these instructions may seem long-winded the process is quite simple. If you have any problems or comments please let us know.
This guide is written specifically for Illustrator (on the Macintosh), however, the instructions can be adapted for similar drawing programs (FreeHand, Corel, etc) and probably CAD programs. Windows users should substitute the Alt key in references to the Option key. I am assuming you are familiar with the basics of using a computer.
Step 1 – Setting Up
Check your General Preferences (File menu). Turn on ‘Snap to point’. Set Ruler units to Millimeters. OK the preferences. In the Paint Style window (use Show Paint Style in the Window menu if you can’t see it) set Fill to None and Stroke to Black 1 pt (see diagram 3).
 Step 2 – Drawing a Circle
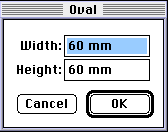
Select the Oval tool and Option-click in the drawing area. Type in the size of the diameter of your pin-wheel’s pitch circle. In this example I’ve typed 60 for the height and 60 for the width.
 Step 3 – Draw a Straight Line
Select the Pen tool. Hold down the Shift key and click once outside the circumference of the circle, above the centre and once beyond the circumference directly below. Holding down the shift key will make sure you get a straight line. The exact position and length of the line is not important at this stage. (See below). Be careful not to drag when you click.

Step 4 – Aligning the Line with the Circle
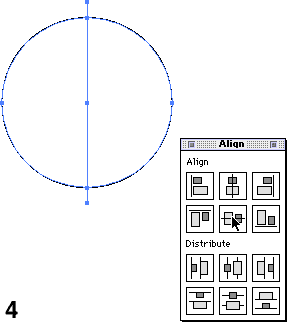
Use the Selection tool (Black arrow) to select the line and the circle by clicking and dragging over both objects. If the Align window is not open choose Show Align from the Window menu. Click on align by centres, vertically and horizontally. (Middle boxes on the first and second row)
 Step 5 – Rotating Copies of the line
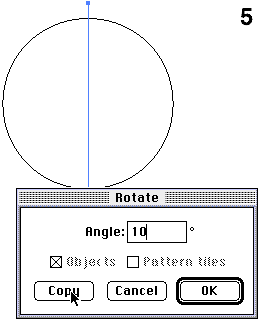
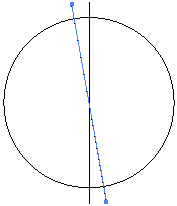
Select the line (the circle should be deselected). Double click on the Rotate tool. Type in the number of degrees to rotate (10, in this case) and click on Copy. A copy of the line should be rotated around it’s centre point by 10 degrees.
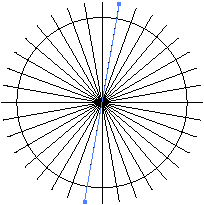 While this is still selected we can repeat the last operation by choosing Repeat Transform from the Arrange Menu. The quick way is to press command-D. Do this another 16 times! You don’t need to count because it’ll be obvious when you’ve finished.The lines cross the circle at the points on the pitch circle where the pins will go – this is where you drill your holes.
 If the steps don’t look even it’s probably because the circle and the first line were not aligned. If you start from scratch it’ll be good practice.
 Step 6 – Adding an Outer Circle
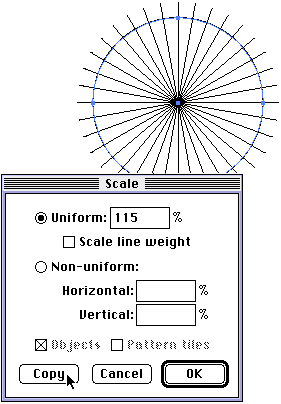
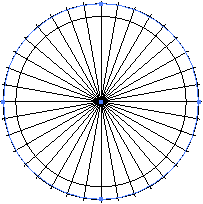
The wheel has to be bigger than the pitch circle so you might want to add a circle to define the size of the wheel. Select the circle and double-click on the Scale tool. Choose Uniform 115% and click copy.
 Step 7 – The Next Wheel
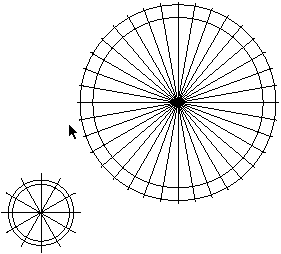
You’re finished, but if you want another wheel to mesh with the one above just follow steps 1-6 and change the dimensions. For a 3:1 gear ratio the smaller wheel should be 20mm diameter (Step 1) and the line rotations should be 30 degrees (Step 5).
You can use similar operations to make patterns for ratchets and other mechanisms.

